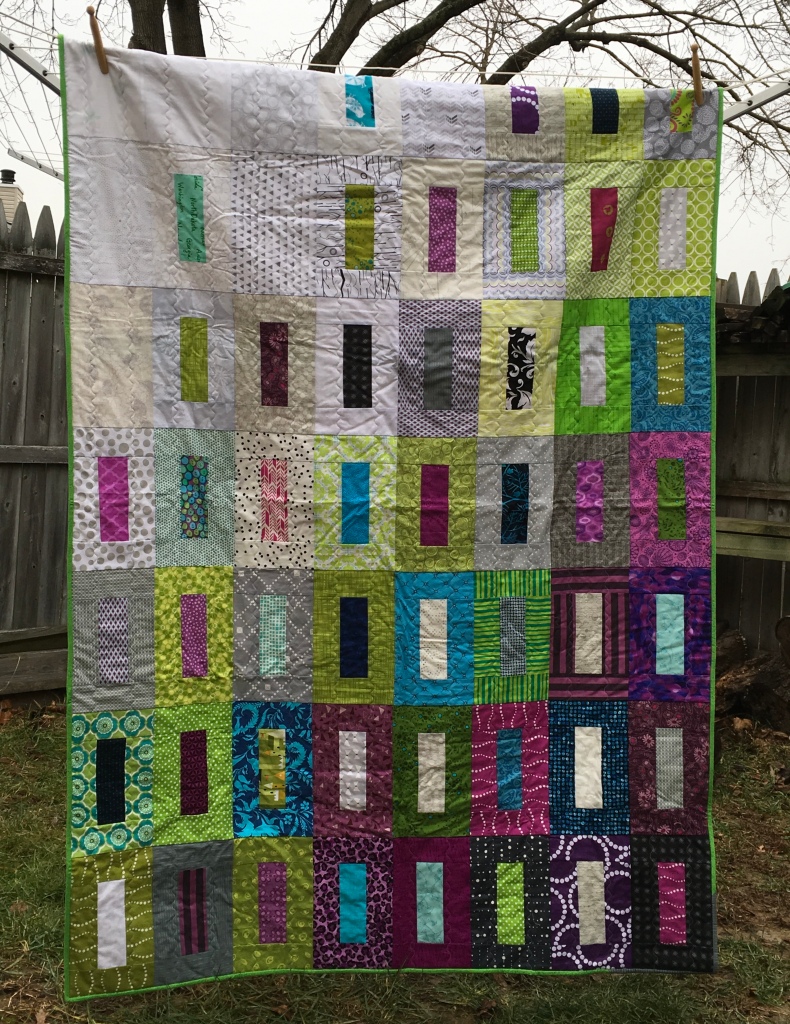
There are a few other names for this block, since it dates back to before 1900. A few others are: Sister’s Choice, Five Point Star, and Father’s Choice. Some of these names have a third color in their design, but we’re just going with the basic 2 color block. I’m thinking a scrappy version would be quite fetching!
This block is nothing new, sorry no reinventing the wheel here. However, while figuring out what fabric to cut per block, quickest way to assemble, and best ways to press, I figured sharing would be nice, so here we go. I did find that this block is rather scrap friendly and only needs roughly 2 fat eighths for the 10″ block, and a little under a FQ for the 13″ block.
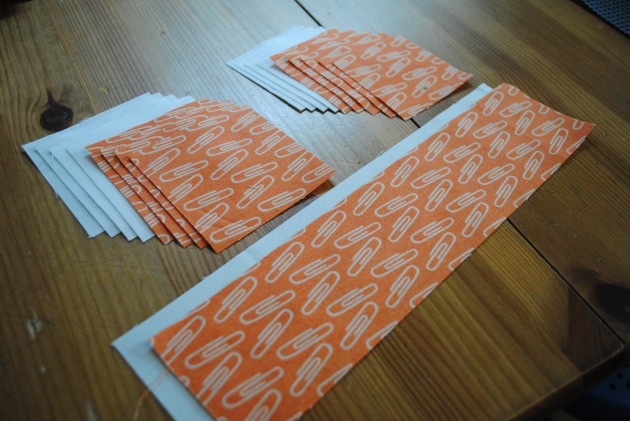
Fabric Needed:
For the 10″ unfinished block, cut:
Light/Background:
4- 3″ squares
4- 2 1/2″ squares
1- 2 1/2″ x 11″ strip
Dark/Main:
4- 3″ squares
5- 2 1/2″ squares
1- 2 1/2″ x 11″ strip
For the 13″ unfinished block size, cut:
Light/Background:
4-4″ squares
4-3″ squares
1-3″ x 13″ strip
Dark/Main:
4- 4″ squares
5- 3″ squares
1-3″ x 13″ strip
All instructions are for both size options, specifications for the different blocks are included – PLEASE read all the way through before getting started (always a good idea).
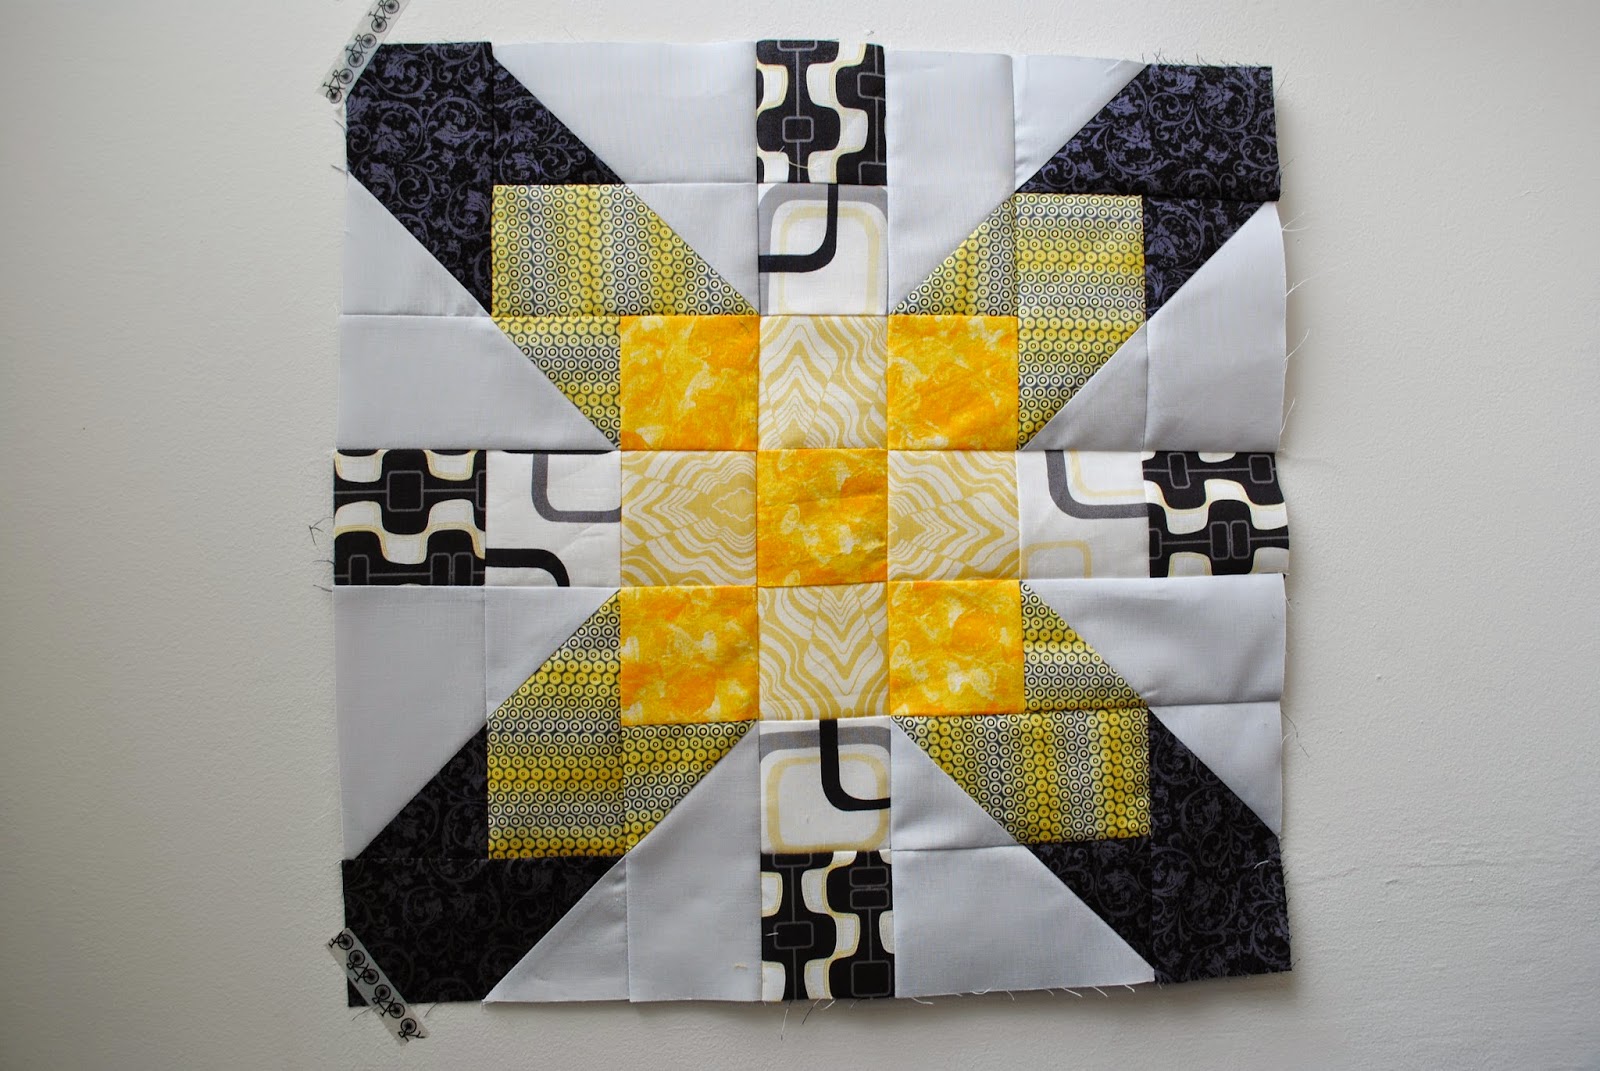
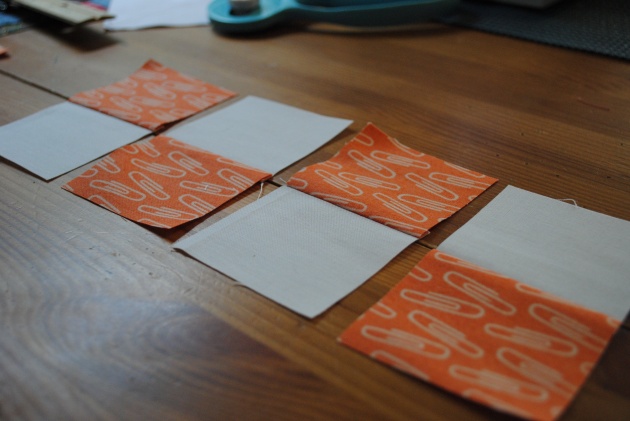
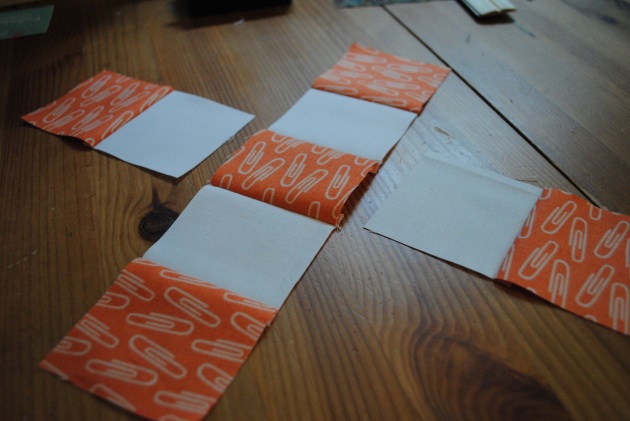
To start, sew one of each color strip together and press towards the darker fabric. Then you will cut this strip set into 4- 2 1/2″ sections for the 10″ block, and 4- 3″ sections for the 13″ block, which should look like this:
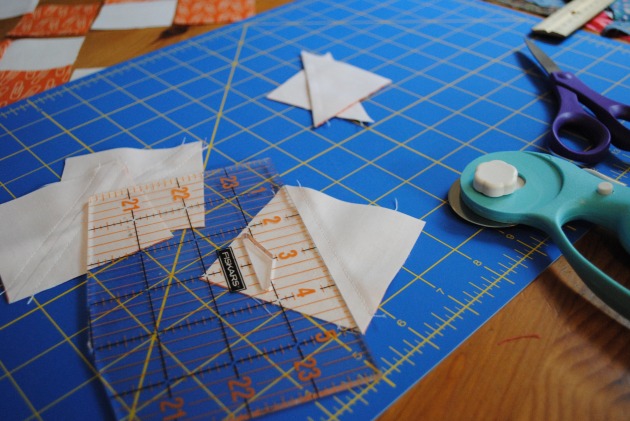
Then, take the 4 light squares that are larger and draw a line across the back to use as a guide for making the HSTs (Half Square Triangles*).
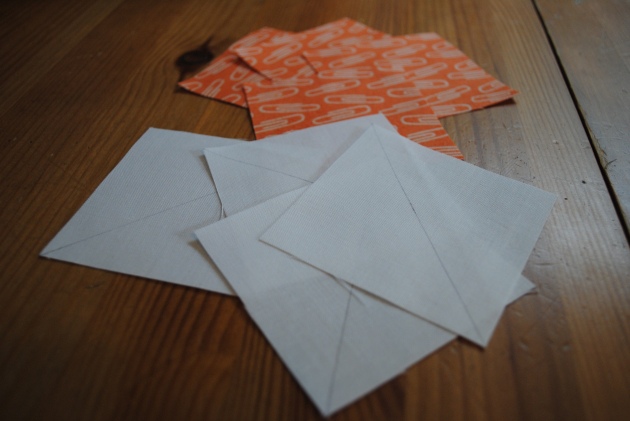
Now, using the larger dark squares put right sides together & sew 1/4″ on both sides of the line, double check you diagonal if you are using a directional fabric.
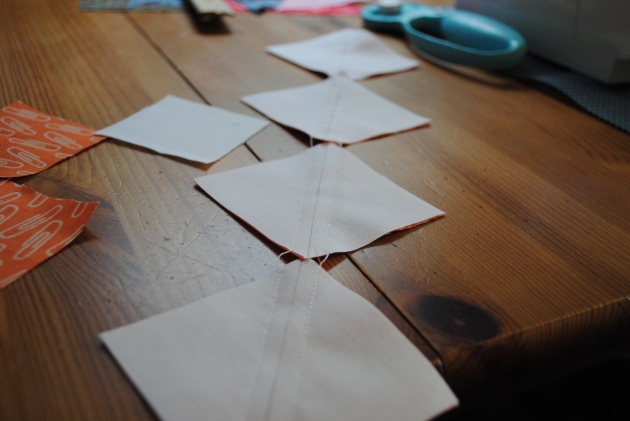
Cut down the line that you just used as a guide and press seams towards the darker fabric. Trim each HST to 2 1/2″ square for the 10″ block and 3″ square for the 13″ block.
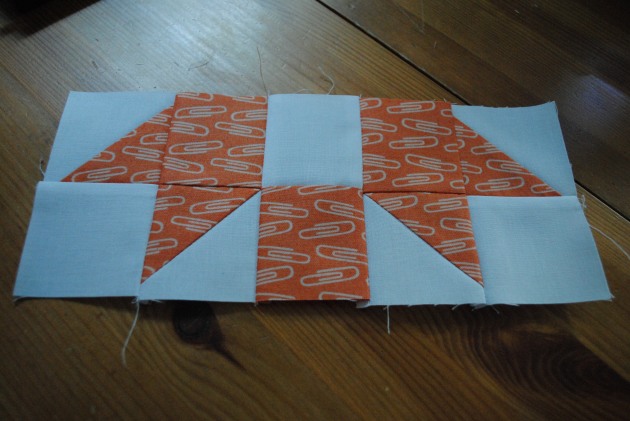
Next, sew the middle row, and press seams around the middle square to the center.
At this point it’s good to lay everything out and get a visual/base to start finishing up with.
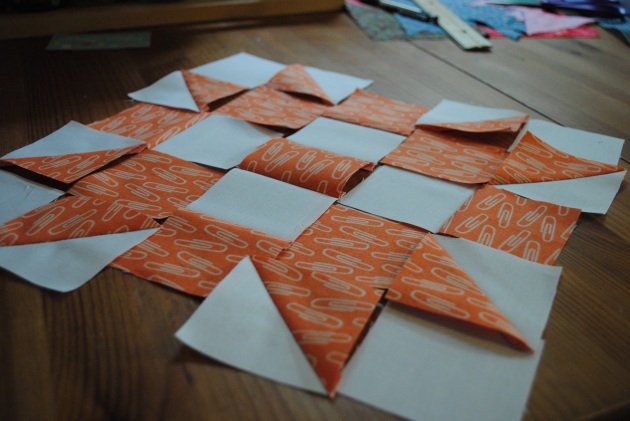
Now, I like to put the corners together individually. Set up all you squares and double check you like the set up, keep in mind directional fabrics.
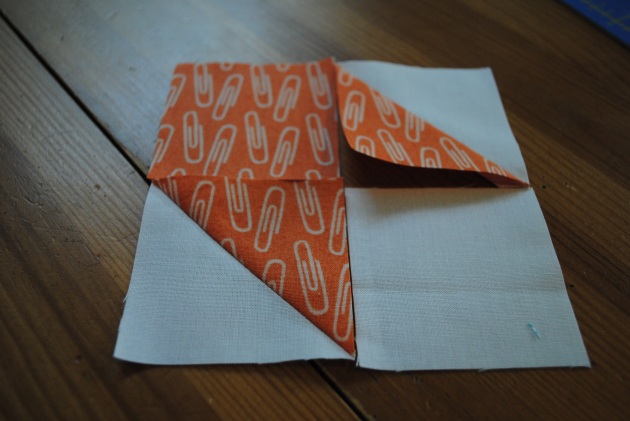
Then, sew the top two together, then the bottom two, and press the fabrics towards the plain square (away from the HST). And then sew the rows together. This is just like making a 4 square. Press the seam between rows towards the darker square that will be closest to the center of the block. Make the other three.
Almost there!
Take one of the strip sections from the start and sew it to one of the corner sections. Press towards the smaller strip section. Sew the other corner section to the other side of the strip set. Press towards the smaller strip section again. Do this with the same sections from the other side of the block. You should now have two of these larger parts and the middle row.
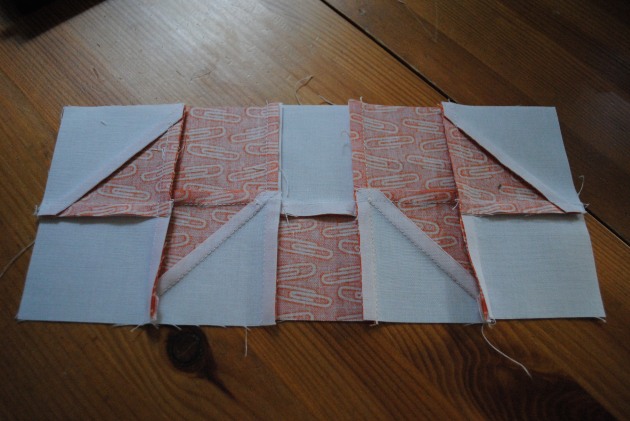
Now, sew each section to the middle row and press towards the center.
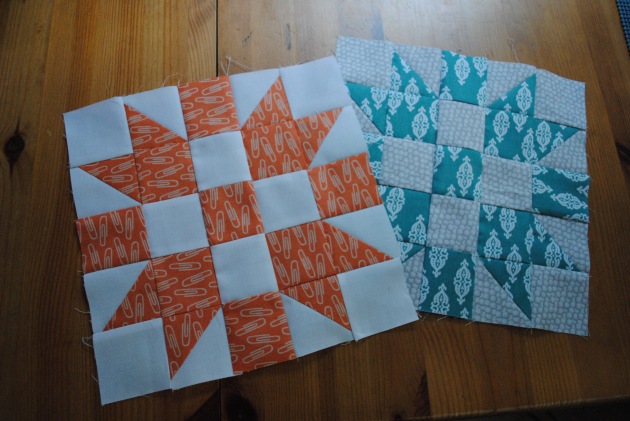
Done!
Then, have fun and make more!
*If you plan to make lots of these blocks in the same colors then I would highly recommend using HST paper. You can make upwards of 20 HSTs in one shot with NO trimming and squaring. I oooed and ahhhed over HST paper here.
Feel free to share photos of your work via Flickr: BlueStripedRoom.